How to Shoot the Stars


 I often look up in amazement at the Milky Way Galaxy and the stars that surround it. They’ve entertained me for countless nights, leaving me humbled and inspired. Capturing the stars on camera and turning them into a palpable image and memory has become one of my greatest passions. I want to share with you some simple steps on how to shoot stars and produce magical images!
THE EQUIPMENT
 There are a few items I always bring when shooting stars. Of course, you’ll need a camera. Specifically, a DSLR camera that has a high ISO mode, capable of taking up to 30-second-long exposure. You’ll also need a good lens. The wider the better. I use a 14mm lens for nightscape photography.
Additionally, a sturdy tripod is a must, to ensure the images come out crisp and clean (a low budget rock will also do). Finally, it is important to bring along small items like a flashlight, lens cleaner, extra batteries, memory cards and some snacks just incase.
THE LOCATION
 Next, the location and weather. When finding an area to shoot, it is important to keep in mind that light pollution plays a prominent factor in the stars being bright enough. Additionally, clear and warm weather is ideal, allowing better visibility and more comfortable temperatures.
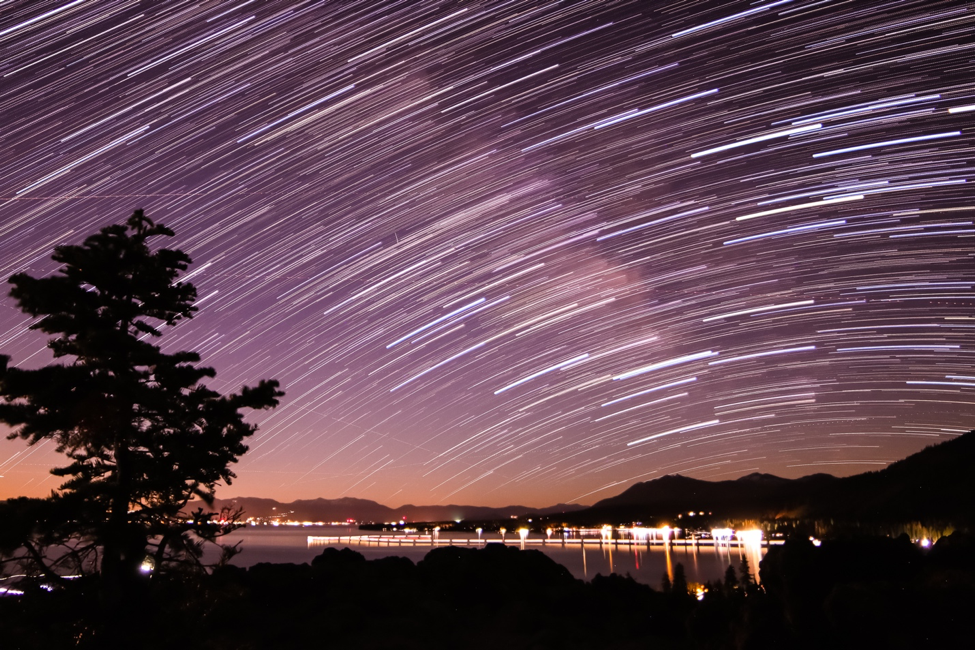
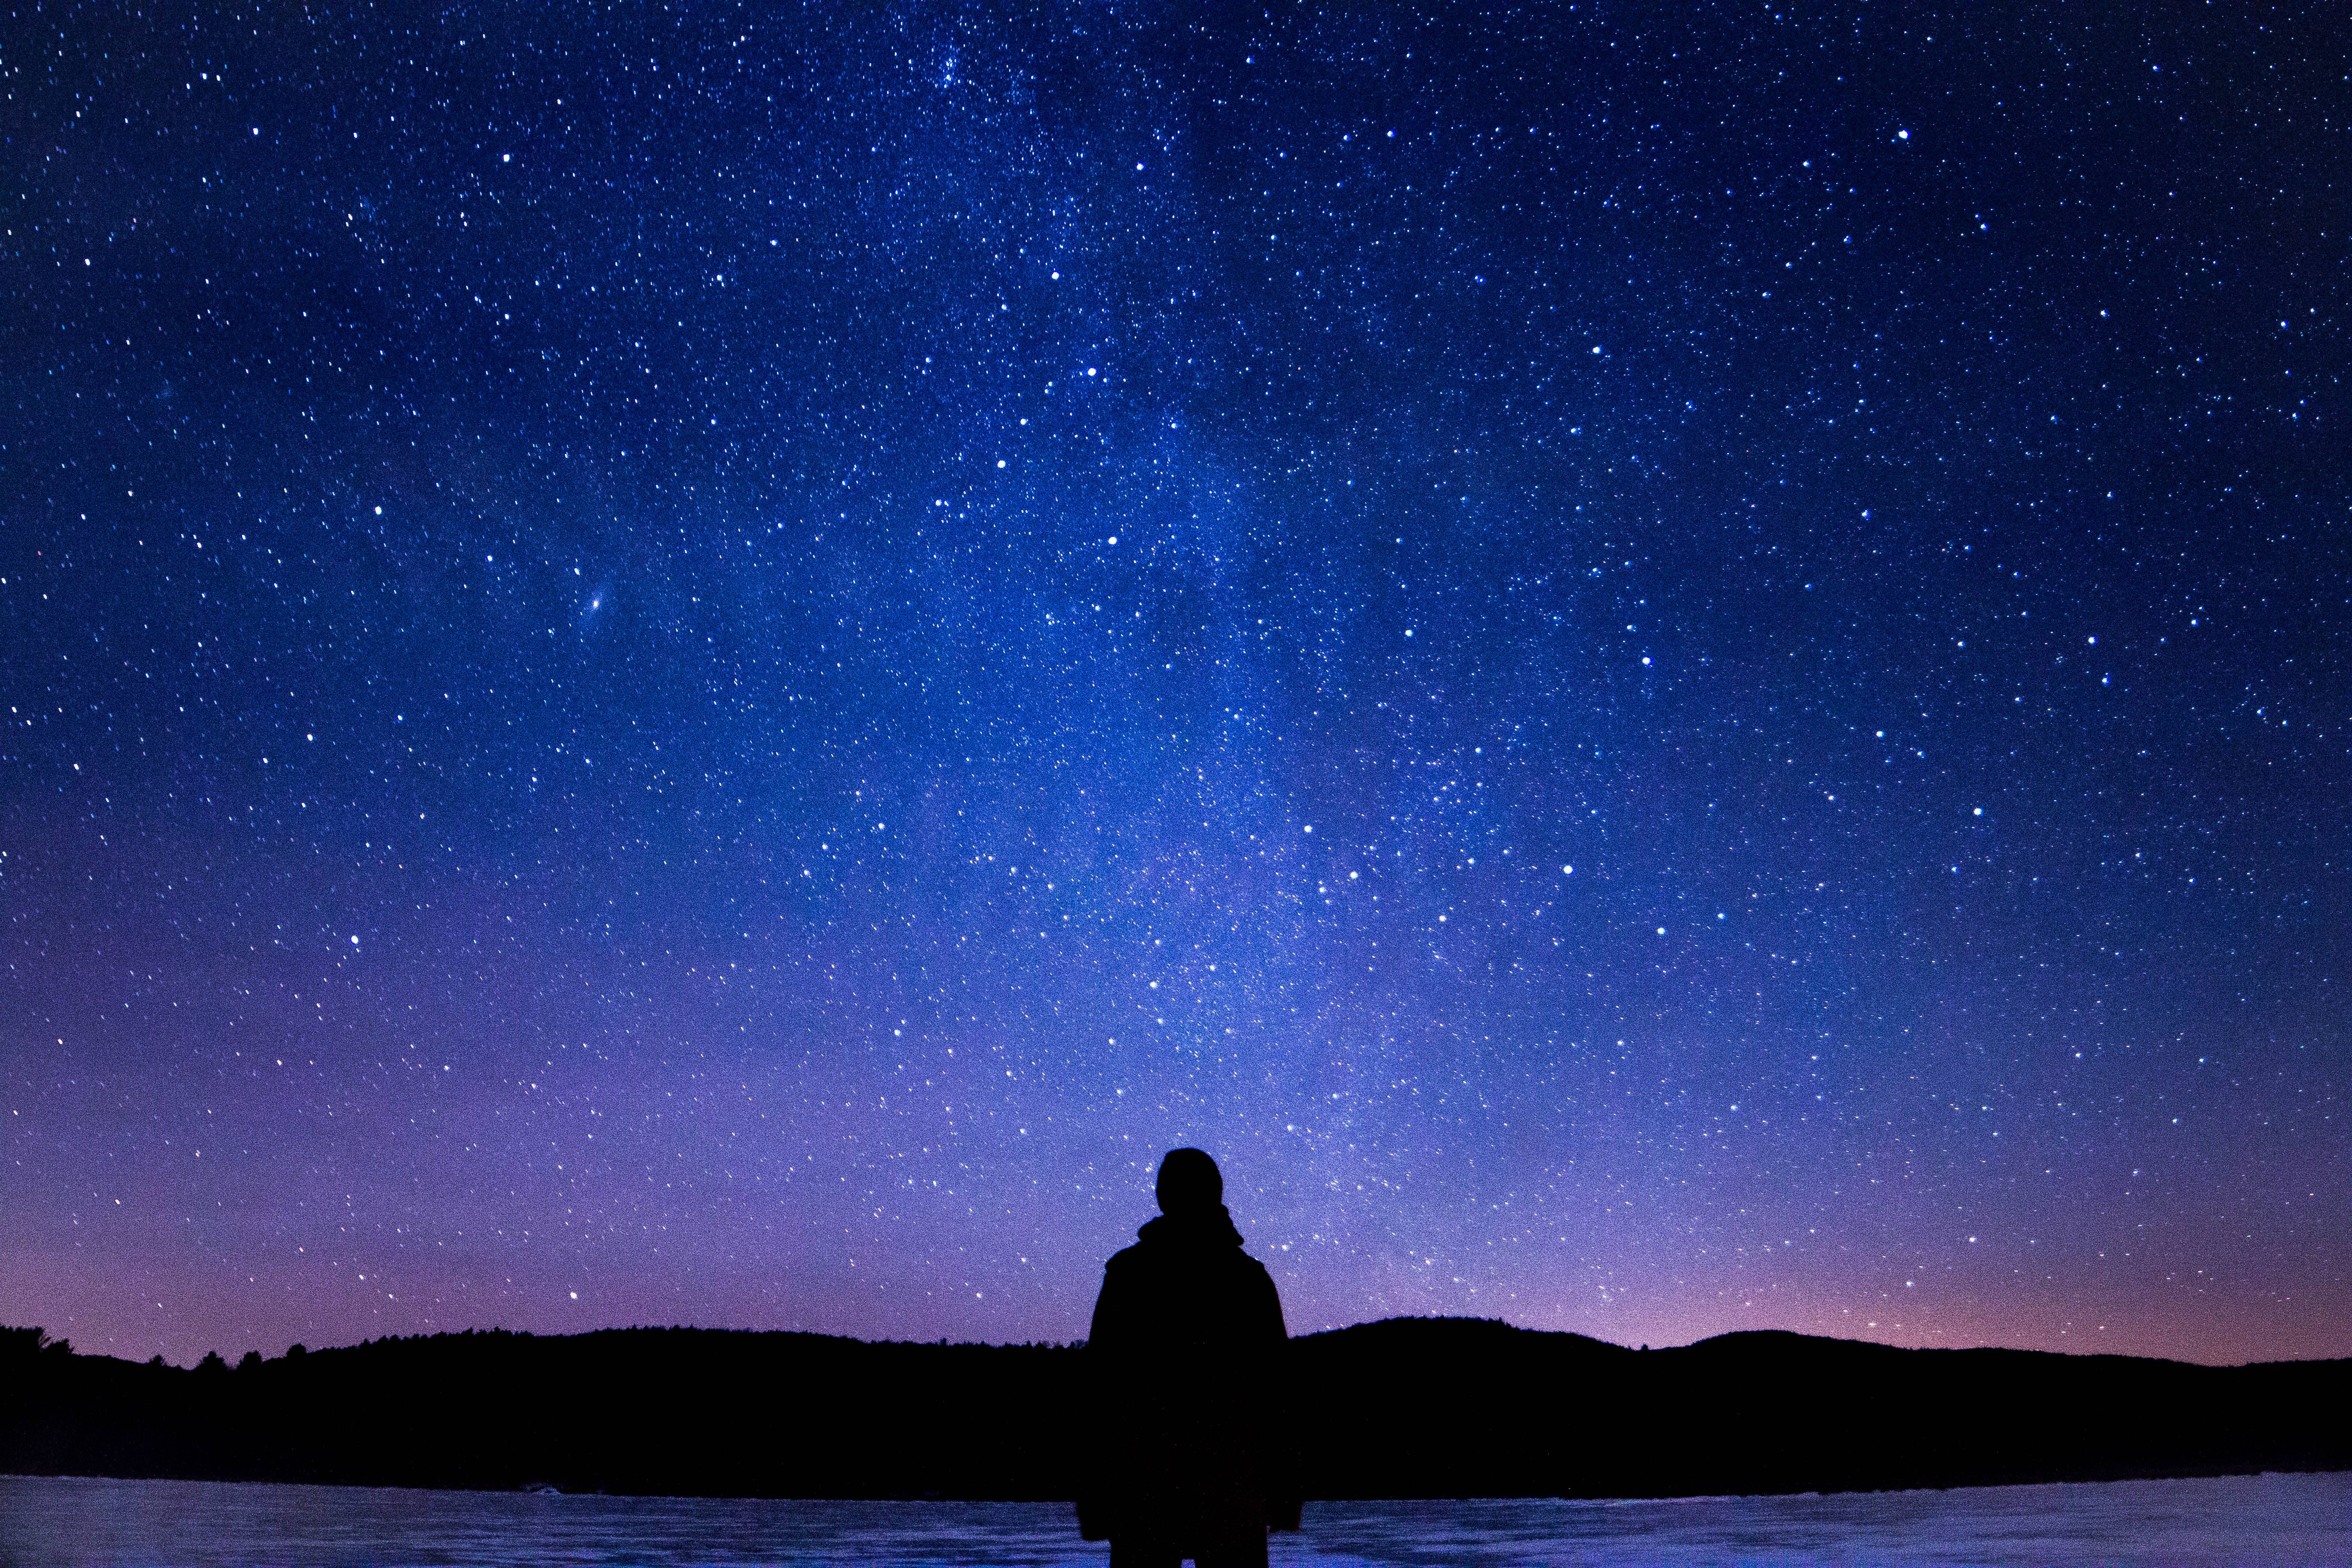
When I arrive to a spot, I try to find an interesting object like a tree, landmark or something cool to be in the foreground of the shot, to add depth or even a silhouette effect. This just makes for a more interesting image most of the time. Finally, you’re ready for the fun part!
THE SETTINGS
 No matter where you’re shooting, the camera settings are always going to be a little different. Thankfully, there are some helpful guidelines to go by. Shooting in manual is a must. In manual mode, there are three different variables to keep in mind. Aperture, exposure and ISO sensitivity. These are basically just big words for; how much light your camera lets in, the aperture. How long the camera’s shutter stays open, the exposure, and how sensitive the camera is to light, the ISO.
It’s typical to use a high ISO, making the camera’s light sensor more sensitive to light and the stars more visible. This is adjusted by pressing the ISO button on your camera and adjusting it with a simple dial. Though every camera is different, many of the camera buttons are very similar. Secondly, you’ll want a low aperture, which lets more light into the frame. By using the f-stop dial, you can turn down the f-stop to around 5.0 or 3.5. Finally, I aim for around a 30-second-long exposure, allowing the camera a sufficient amount of time to pick up light. This is changed by finding the exposure button and manual changing it to the desired time.
Now you should be ready to capture the perfect shot! Patience and practice is all it takes. It takes a long time to dial in the right settings to get the image you’re looking for and to figure out all of your cameras functions, but it is important to explore everything it can do. Be patient, be creative and you’ll be surprised with what comes out!